


Need more storage space? Looking for somewhere to keep all those bits ‘n’ bobs that you only use every now and again? Believe it or not, the solution might be just above your head…
If your home has an unused loft, things are really looking up (excuse the pun)! Loft boarding has become hugely popular across the UK, and for good reason: it’s a great way to increase your storage space without changing the footprint of your home or spending a fortune.
WHAT IS LOFT BOARDING?
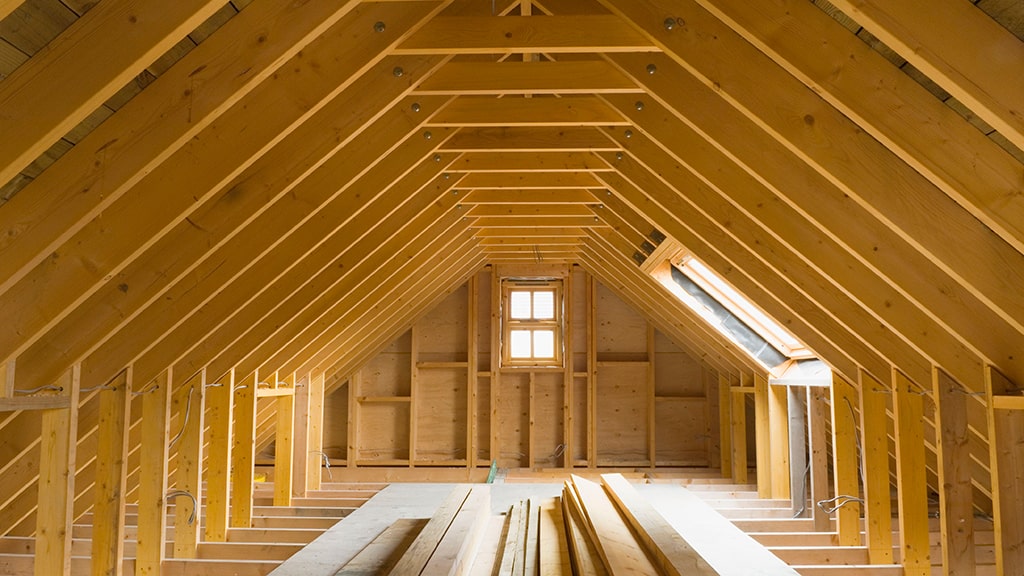
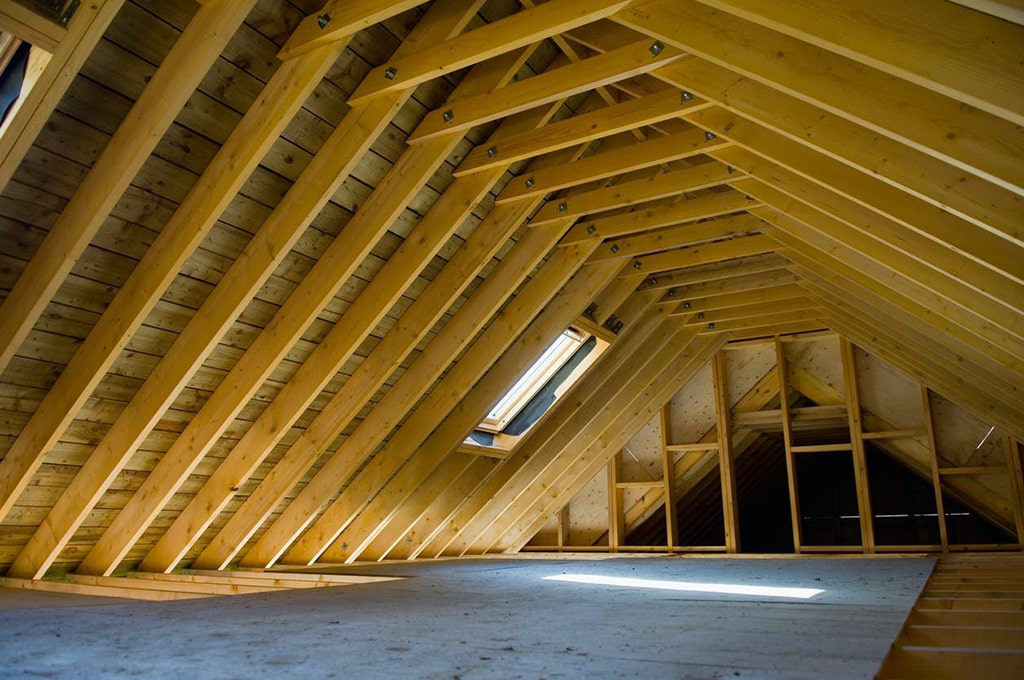
The name says it all: loft boarding is simply the process by which timber boards are installed in the loft space to create a solid floor. Boarding a loft isn’t difficult, and once complete, it transforms a previously unusable space into a fantastic area for keeping all those odds and ends that every household seems to collect.
There are several benefits of boarding a loft, some of which mightn’t be immediately obvious. At Combit Construction, specialist builders in North London, we understand how much value loft boarding can add, that’s why we’ve taken the time to explain the benefits and the process right here:
THE BENEFITS OF BOARDING A LOFT:
1. More Storage Space:
That’s a no-brainer! Boarding out a loft (or part of it) increases the area available to store boxes, appliances, sporting equipment, unused furniture etc, without having to balance it all on the joists! The loft of a typical semi-detached home in Britain offers around 40 – 50 square meters of space, so why not make the most of it?
If you currently rent a storage space, loft boarding is an even more attractive option – save yourself a pretty penny in rent and enjoy the convenience of storing your belongings under your own roof!
2. Safety:
How many times have you clambered around in the loft space, worried that you’ll slip off the joist and put your foot through the ceiling of the room below?! Installing loft floorboards will remove that safety hazard and allow you to move around easily and safely within your loft space.
3. Increased Energy Efficiency:
A lot of heat is gained and lost through the ceiling of your home and laying loft boards is a great way to add an extra layer of thermal protection to your home. While you’re at it, you might consider topping up or replacing ceiling insulation, or opting for insulated panels to take your energy efficiency to the next level.
4. Increased Home Value:
Homes that offer great storage solutions are on buyers’ bucket lists. Whether you decide to go all out and do a complete loft conversion or settle for simply laying loft floorboards, you’ll add to the resale value of your property.
5. Sound Proofing:
Adding an extra layer above your head will help to dampen noise from outside. If you live in a high-traffic area or in the flight path of an airport, simply boarding out a loft could dramatically reduce noise pollution and increase the comfort of your home.
DOES LOFT BOARDING REQUIRE A PERMIT?
No – under normal circumstances, if you’re boarding your loft for the purpose of storage, it can be done without a permit. However, if you have any questions or concerns about this, the team at Combit Constructions can help.
INSULATION
Before you start, you need to tackle the issue of insulation. Adding extra insulation doesn’t mean squashing down what’s there and piling more on top. In fact, compressing the insulation will severely reduce its effectiveness.
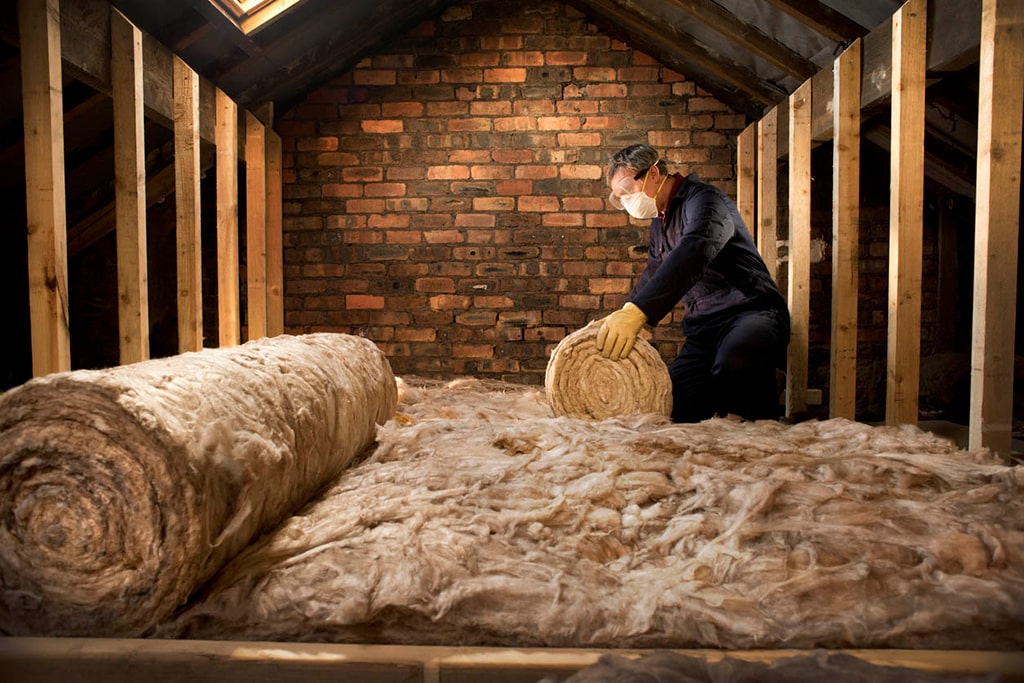
Standard ceiling joists are 100mm deep and the recommended thickness of insulation is 270mm deep, so the best solution here is raising the loft floor. Talk to the team at Combit Constructions about the best way to do this.
STEP-BY-STEP GUIDE TO INSTALLING LOFT BOARDING:
Loft board installation isn’t difficult. With a good dose of common sense, a ‘can-do’ attitude, and some elbow grease, the average DIYer can complete this project quite effectively. However, if you’re not confident to attempt this job yourself, contact us on +44208 457 2772.
Here’s what you’ll need:
- tape measure
- pencil
- hammer
- drill and screws
- jigsaw and space to cut boards to length
- loft boards
- safety gear – dust mask, gloves, eye protection
And here’s our step-by-step guide on how to lay loft boards:
- Work out the area that will need to be boarded by multiplying the length and width of the loft space (remember, many folks only board the central space of the loft because the angled roof makes the edges of the loft less user-friendly).
- Purchase the boards, ensuring that they are small enough to fit through your loft hatch! Add on an extra amount (maybe 20%?) for mistakes – hopefully, you won’t have any, but it always pays to be prepared!
- It’s time to don your safety gear and head up into the loft space! Place one board between the ceiling joists to act as your temporary working platform.
- Lay out the boards, starting from the hatch and moving outwards. Remember to stagger the loft boards so that all the joins don’t all line up and create a weakness.
- Top Tip: make sure you don’t trap any electrical wires which may be running through the loft and ensure easy access to light fittings by cutting the boards to fit around them.
- Once you are satisfied with the placement of your boards, it’s time to make it permanent. Pilot drill your holes and screw off the boards off to the center of the joists.
ENJOY!
The best way to maximize your new storage area is to keep it clean and clutter-free. Don’t be tempted to turn your new-found space into a dumping ground – keep your belongings organized, tidy and easy-to-find.
The team at Combit Construction can help you maximize your storage space without changing the footprint of your home. With 20+ years of experience in specialist home renovations, Igor and the team have the knowledge and skills to turn your unused loft area into a functional and effective storage zone, right over your head!
Our team has the experience and practical skills to ensure that your renovation is completed to the highest standards, on time and within budget.